

Using this instrument
 , create a circle colored in 454401. Then apply this tool
  with the parameters from the next table:
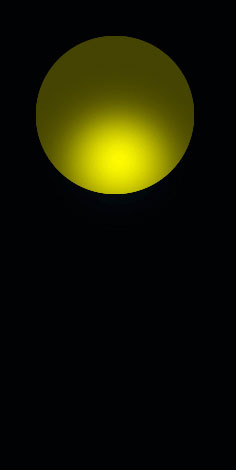
Decolorize the lowest part of the circle the same way it is done below.

Apply now the instrument
 and try to represent a figure colored in 6A6700.
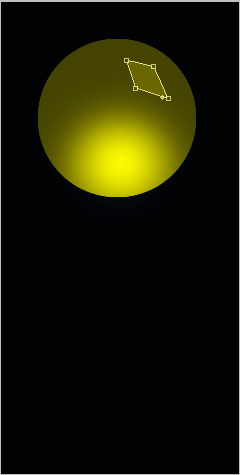

Make the same way several other elements with the same color.
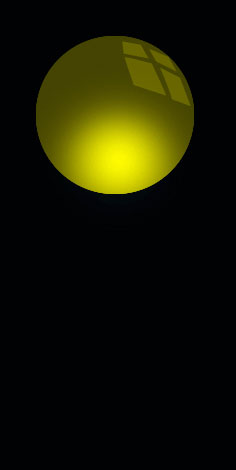
Merge down now all the layers composing those four rhombs of one color in a group. Copy this new group and apply Free Transform selection to turn it around on 180 degrees. Place it the same way it is done below.

Apply the instrument
and represent a circle with the color 6F6D00.
Applying the last instrument, it’s possible to represent one more circle with the parameters from the next picture. Then make use of the same instrument, keeping pressed the Alt button and cut out the inside part, like it is demonstrated next step.

Blending Options-Drop Shadow

Blending Options-Bevel and Emboss

Blending Options-Gradient Overlay

Gradient’s parameters.

Now merge down the layers, composing the circles’ figures on a black background in a group.
Copy the new made group and change the corresponding parameters.
The color of the basic circle is 154583, the smaller circle’s color – 1067BF, the rhombs’ color is 1067BE.
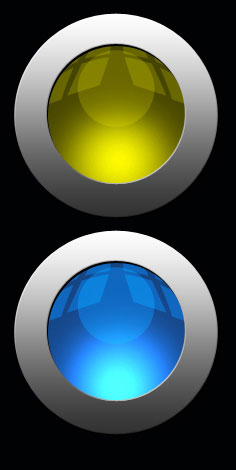
The final result!


No comments:
Post a Comment